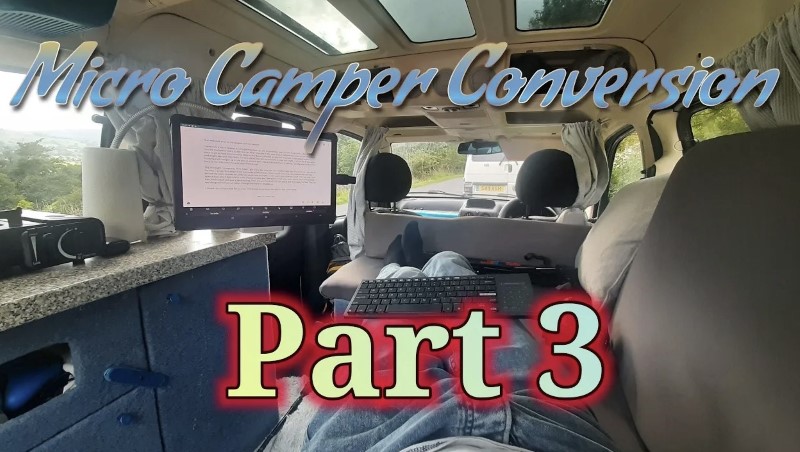
This is part three of my DIY micro camera conversion, slight confession to make since part one and part two the camper has now been built and I actually went away in it a few times last year
In this part I will be showing you how I built the seats including how the actual bed works and pulls out etc, the kitchen unit and even the curtains and some other little things. In the video below you will see we have an American bulldog she thinks if we’re on the floor she thinks we’re actually playing so when doing things like this she does actually get in the way a little bit.
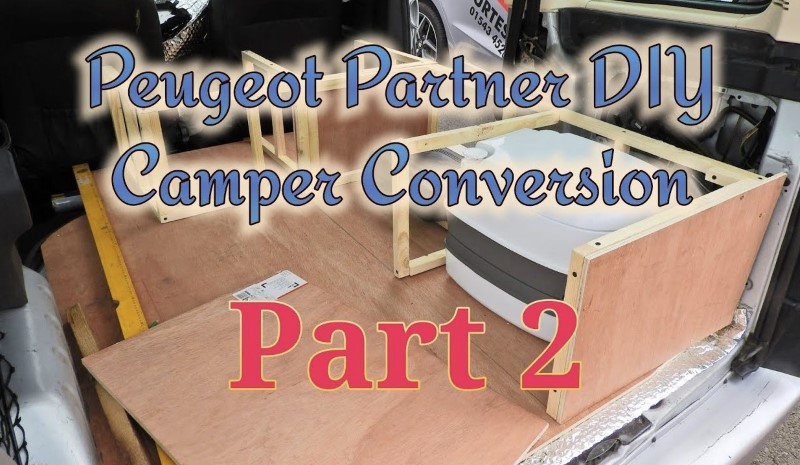
In the last part you seen me making the actual frameworks for the seating / bed area the top of the bed is basically made from plywood the mattress padding is from a futon that I bought 2nd hand which only cost a £10 and is exactly the size that I actually wanted it for, there are actually four parts to make up the seating you’ve got the L shape of the actual framework then the missing part from there if you get what I mean and as well because it’s a Peugeot Partner the actual length isn’t just enough to sleep so what you do is you just move the seats forward and then that produces a little gap of around about six inches and then that’s for the other part.
The futon has got two parts one for the bottom and one for the top as these are two lengths I just took all the covering off them and everything else. You are basically left with the foam and the fire retardant material and everything else so then I could use the two sides and cut them equally as needed, the foam was attached using spray adhesive onto the actual plywood and then from there for the actual covering them, this was from a curtain that we actually bought from a carboot, I think it was only about 50p, I don’t know the size but it was basically large enough to fit all those four pieces that I mentioned. The curtain was put underneath and then stapled around the side unfortunately my electric stapler had broke so I had to use the manual stapler which was fun but just pull it tight and it worked.
To cover the outside of the seating frames I use the stretchable carpet and this is pretty simple to actually do, just spray adhesive on the actual unit, sometimes I used the spray on the carpet as well just to keep bit more secure. Then I just stretched it around and that the only problem I had is the tops and the bottom where it like folds over, It’s just a bit of a pain to do. I did this for all of them I thought that would look better than something like a laminate.
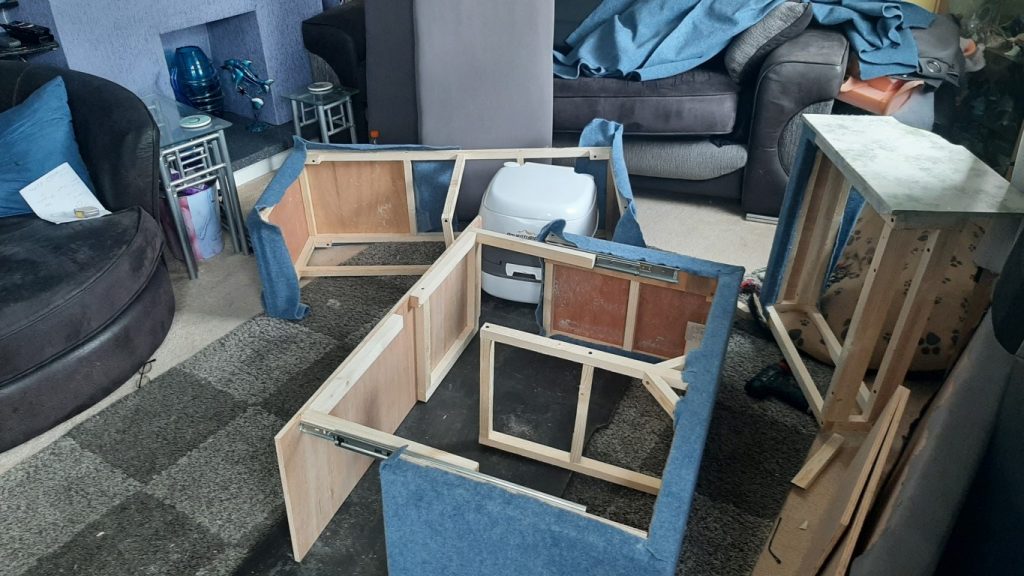
The back unit that you can see in the photo above is actually a cupboard door that actually opens but the other part then slides out to support the bed, because the cupboard if you put it at a 45 degree angle then this drawer then will support the other side of the bed. For the drawer I got some very strong runners for these I just had to put a side panel on and then screw these in and put some batons on then eventually attached to the front facia. The same with the other unit that goes behind the actual front car seats because of that six inch gap that then pulls out then supports the bottom end of the bed.
The kitchen unit part was actually built in two parts, the reason for this I was trying to do it so that the actual single back seat could actually fit back in, by taking out the smaller kitchen unit. So I could have two passengers, in the end I decided not to do this so the two parts joined together as one. When I finished the kitchen unit at the time I hadn’t actually got a worktop to put on it so I just used the plywood and then put laminate sticky sheets wasn’t the best but it did to start with in the end I have actually got a worktop. Both of the kitchen units are then covered again in the stretchy blue carpet and this was then the two sections and I joined them together, in hindsight because I’ve never tried to put the third seat in or anything like that I should have done it as one unit because I would have saved on some of the batoning, so that would have given me a little bit more space and easier as one unit to actually put in.
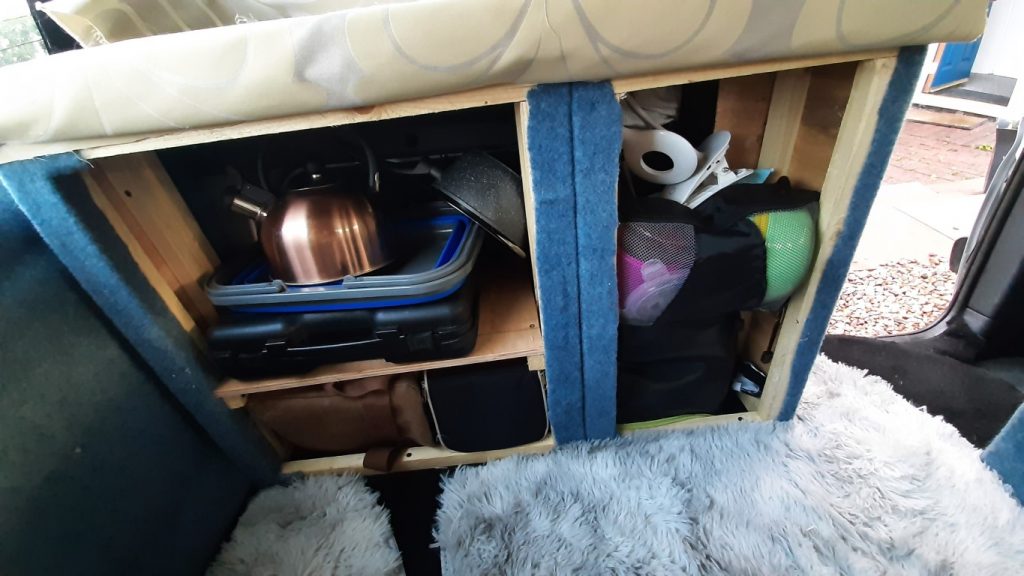
The first time I went away I hadn’t got the cupboard fronts of the kitchen unit on , so I just used a bit of material over it as I hadn’t decided exactly how I was going to have the front, in the end what I actually did is a cupboard door to the the right hand side (the smaller part) Then the bottom of the larger unit has a cupboard door and that has the gas cooker and cooking equipment. The top has a little cut out for the shelf which the level is just just above the bed, when it is out, so when you’re lying in bed you can use that to store things. Again I used the stretchable carpet, I did have problems with the corners in the actual cutout part doesn’t look perfect you wouldn’t notice it it’s only me that’s being a bit picky really on that one.
For installation I used the silver bubble wrap insulation for the sides by the windows, the plastic panels were took off and insulated inside with spray adhesive and then carpeted on the outside. The one side where the jack is stored was carpeted and insulated so you can still get to the equipment. The boot panel was also taken off this was carpeted on the interior side, and again the inner side was insulated with the silver bubblewrap struck on using the spray adhesive , in the boot panel I also drilled a little flat hole so I could attach a pull system from the latch, unfortunately this didn’t work so that’s a design for the next time because the only problem is with this car is from the inside you can’t open the boot. Which means you have to go through the side door always to open the boot. The way I want this designed is you can either go through the back or the front so it’s one thing i’ve got to sort out.
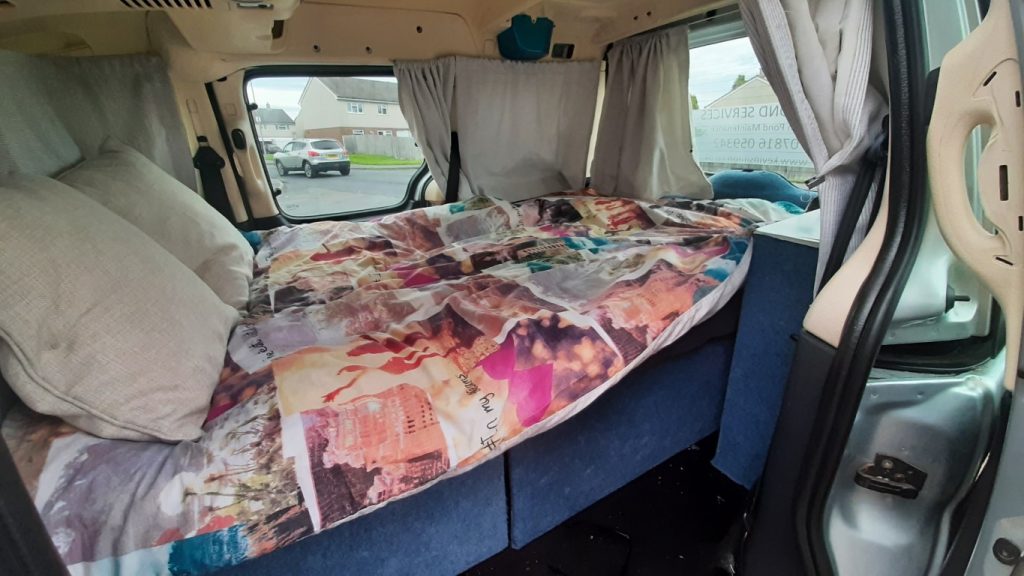
With the curtains for this camper it’s been a bit of a pain to actually do, well not really a pain it’s just we’ve gone through so many designs. The original design was using a curtain track around the windows that you just pull across the windows, the problem with this is that the sides of the car aren’t straight so was gaps at the bottom. So the next design was put a bit of Velcro on the bottom of the curtains. The front cab had to be three pieces of wire so it actually goes towards the front then across and then back down again it’s a little bit of a weird design but it’s just because of where the front seats end and then the seats have to be pulled forward, so this gives room for that extra piece of the bed without the curtains getting in the way..
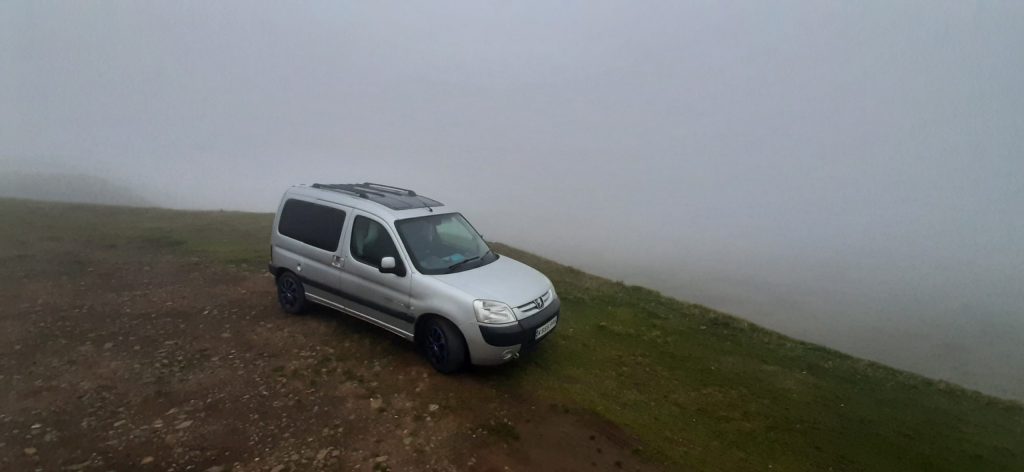
The version of the Peugeot partner that I bought was the quicksilver one and this had a compartment going all the way across at the back it just dropped down this would be useful for storage but unfortunately it would reduce headroom in the back so this was taken down and basically it was easy to unscrewed from the top and then there was the two struts so they then were removed as well.
Now with the back seats being removed this is where people didn’t know what to do about the MOT with remove the rear seats and maybe seat belts. Well from what I found out because there is no physical seat in the back you can actually remove the seat belts. (Since writing writing / video the car passed MOT without the seats or the seatbelts there) to remove the seatbelts was as simple as just undoing one bolt and just taking that off and then it’s all out the way. I’ve still left though the actual seat belt just dangling down at the bottom and then carpeted over that so if I did need to put it back up it is just adding one bolt back in.

Originally I put down the black stretch carpet on the floor it just didn’t seem durable enough the first few times I took it away and as I had just re-carpeted my office I got a spare offcut and it is pretty thick carpet so that went down on top of the existing carpet. It makes it a bit warmer on your feet aswell.
Thank you reading / watching part three of my diy camper conversion video and if you haven’t already seen parts one and two here are the links
To keep upto date with the build and also our trips out and about either follow this blog or subscribe to our YouTube channel.