This is part four of my little DIY Peugeot partner camper conversion in this article / video you will see me removing the interior roof panels and insulating and as well carpeting it and there’s also some other little things that I will show you in what I did with tinting the windows revamping the driving area and some miscellaneous stuff so if you haven’t seen my previous episodes please look links at bottom of page
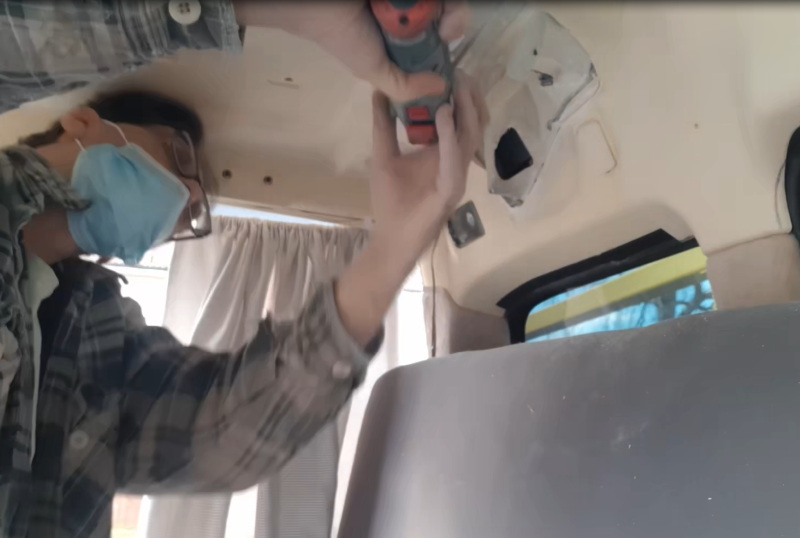
At the back of the van inside on the roof panel there are two bulges one by the boot and one in the middle so the idea is to take these out to help a bit with head room, especially the one in the middle so down have to slightly duck down when moving around. To cut away the ridge I used a multi-tool this was my first time using one of these and as well unfortunately I have problems with my hands which I have problems gripping um so it did take me a bit of time and it’s not the perfect job but then I can smooth it out as we go along
after the roof panel was taken off the insulation basically we went with just the silver foil that was used then we spray adhesive on there but the one thing that we did is just put some bits of padding in the one corner and the other corner which is where you would sit so when you sit back you rest in your head against this padding so it’s not as hard against the actual main roof
carpeting the roof was one of the most challenging parts that we had to do basically the misses sprayed easy if the roof while I then got the carpet and then tried to push it up and push it all into place along I had to sit underneath and hold the carpet up it’s a bit difficult but eventually we got there.
As this version of the Peugeot partner has basically five sunroofs two in the front and three in the back and the carpet was going towards the cab area it meant that I had to cut out the three little parts of the actual sunroof basically this was just done with a knife and then keep on putting a little bit of spray adhesive to keep it up and that not perfect around the edges but it’ll only be me really that’ll notice there’s a little imperfections.
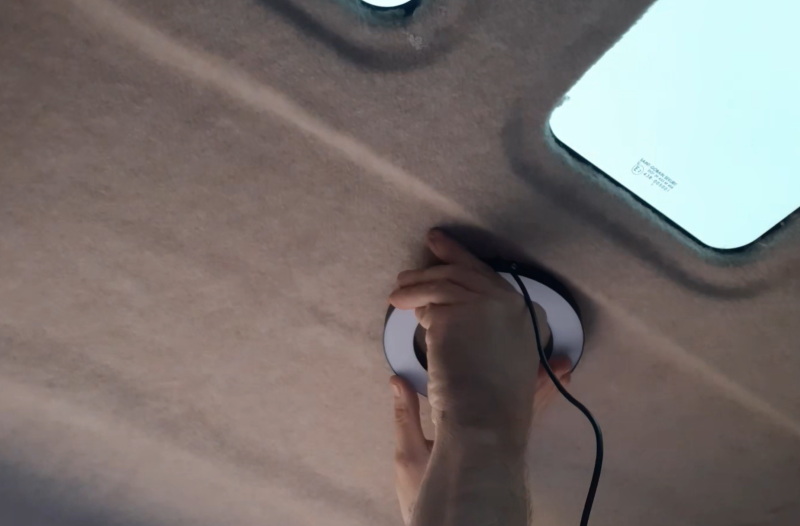
The original lighting I had in here was going basically at the back and around it was just a little led strip that just stuck around the roof area, well I got a little ring light these were cheap from a car boot for a pound i mounted this in the centre of the ceiling then rooted the cable down the side so the power switch is just a you go in the back from the door, and for me as i use 5v power banks for electrics, the usb is then routed through the kitchen unit to a usb hub, which in turn is then passed through to the power bank.
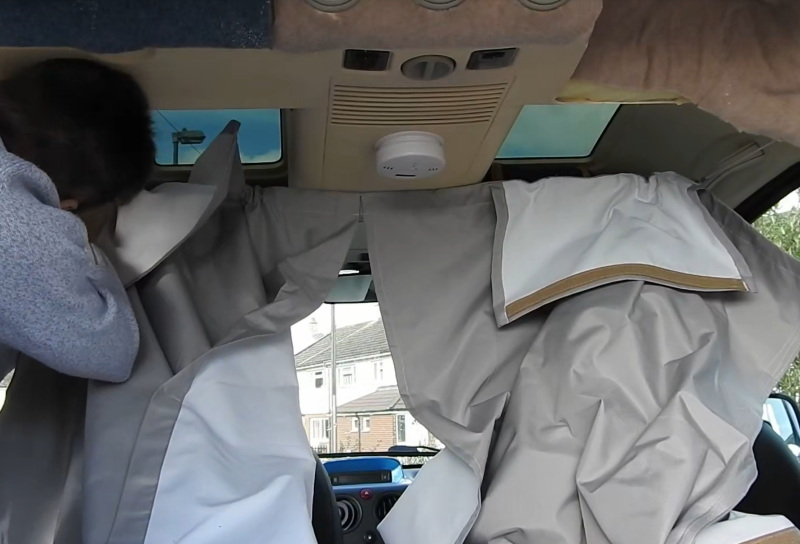
The curtains we actually changed again this is about the third or fourth revision and we basically found some blackout curtains so we cut those down to size and these basically roll up and velcro on as well as on a curtain rail that goes around the front for the cab area that is then full length.
The original material I used for the seating / bed was from a pair of curtains that was off a car boot I think for just 50p but unfortunately the material kept pulling it wasn’t the best material in the world and my mum actually gave me some curtains that she’d bought at some point in the past which is like furry type of more suitable material for seating so basically the old material was taken off and then just recovered and stapled back together
Above the kitchen unit for the tea, coffee , sugar I had these plastic container that I screwed the lids up , so you could unscrew them but unfortunately with heat and everything from the cooker they melted away slightly one time that we went away so what I’ve done is just put two little brackets up there made a shelf, which was put at slight angle using some bent brackets, also the bottom was then covered in a reflective sticker, so should reflect the heat back an not onto the shelf contents.
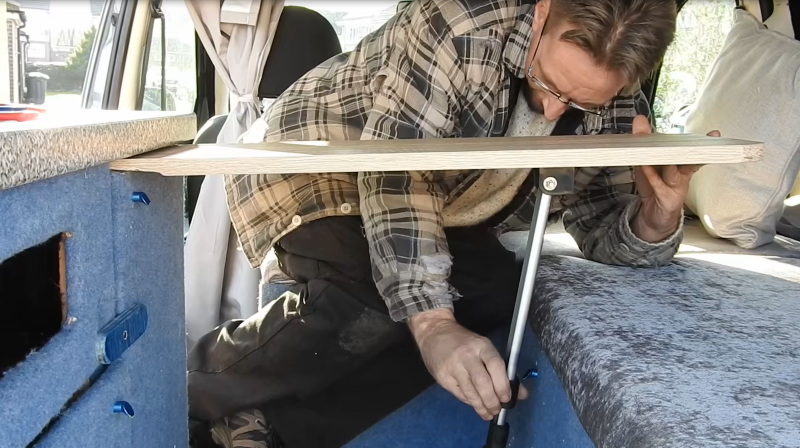
As it is such a small van the only table that you’ve actually got is the kitchen worktop area and I thought of an idea of just putting like a foldable shelf in the middle basically I found some little plastic strips that I could actually slot something in so I found a bit of wood because I’m a hoarder in wood and diy stuff and so I found a bit of wood that I trimmed down to fit, and the leg was from two parts one was the bendable leg off the futon that I got that formed the original mattress that I made and the seating and then using then an old tripod leg cutting that down inserting that into the other part from the futon if you get what I mean and then that just folds out and drops down and you’ve got just like a little table I’ve got to make it so that it’s more secure because I’ve put some Velcro underneath just to hold it in place which should ok.
The one thing I did want to do for a bit of privacy was to tint the windows now this I thought was going to be a bit difficult but on all the back windows they have these little screws which basically means that I can actually take the window glass off and then tint the inside the house to make it easier, the problem window was the rear one and because I’m not that good at tinting on the back window I tried to do the best job that I could i had to get my daughter to help as to big of area for me to do on my own. its not the best job but does give a lot of privacy when sitting in the back of the camper.