How I setup my solar electrics in my Peugeot Partner Car Stealth Camper
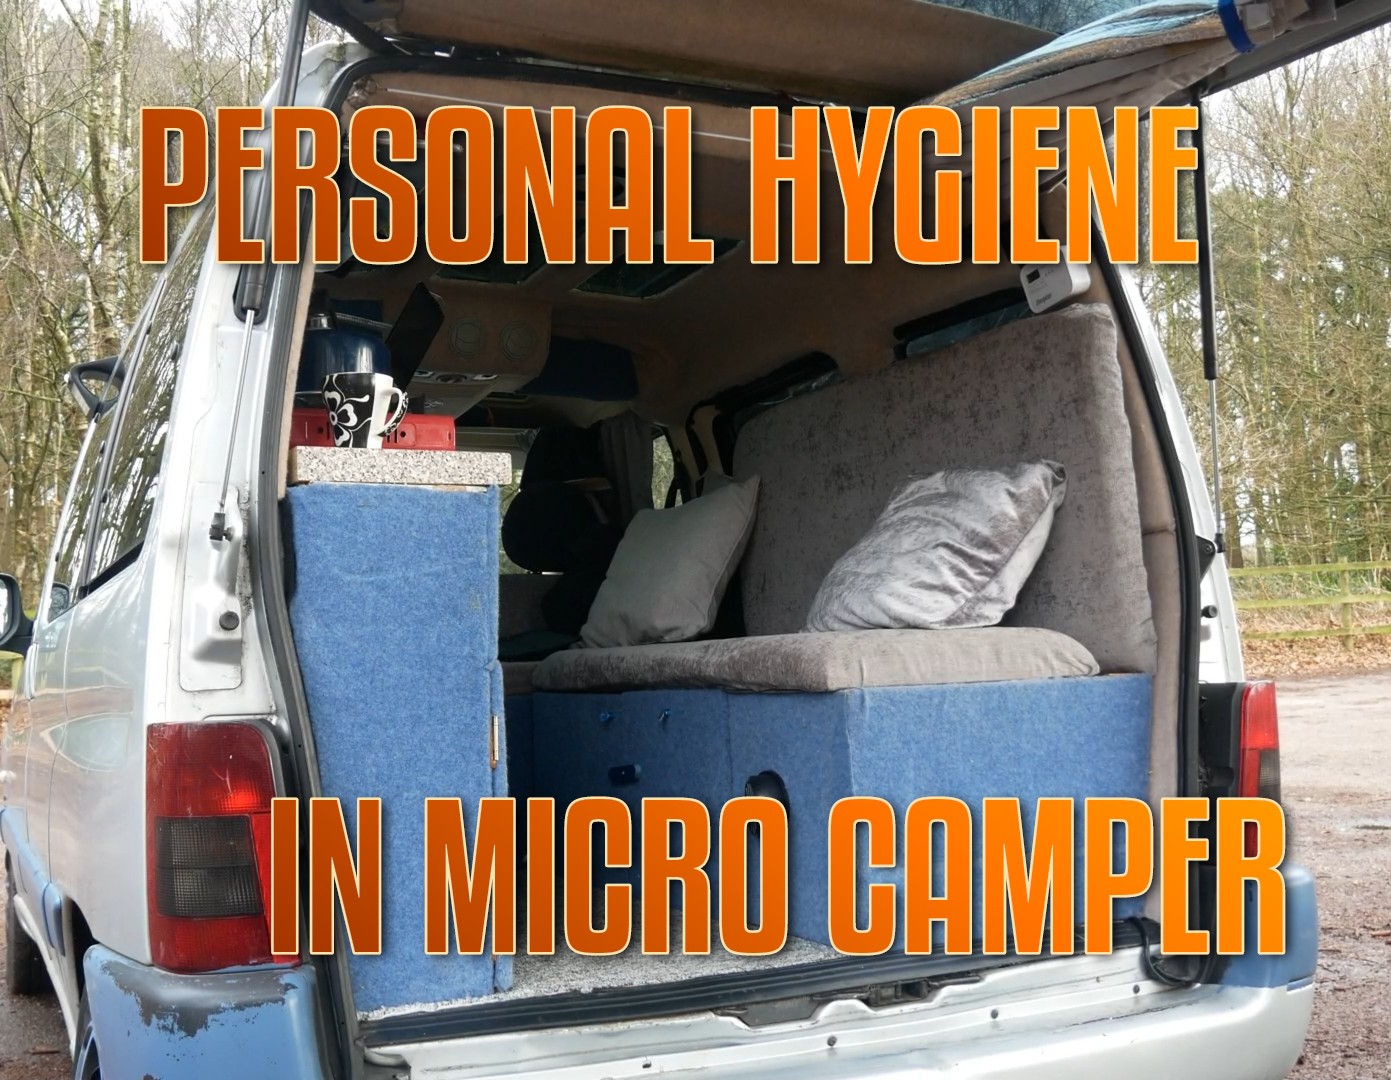
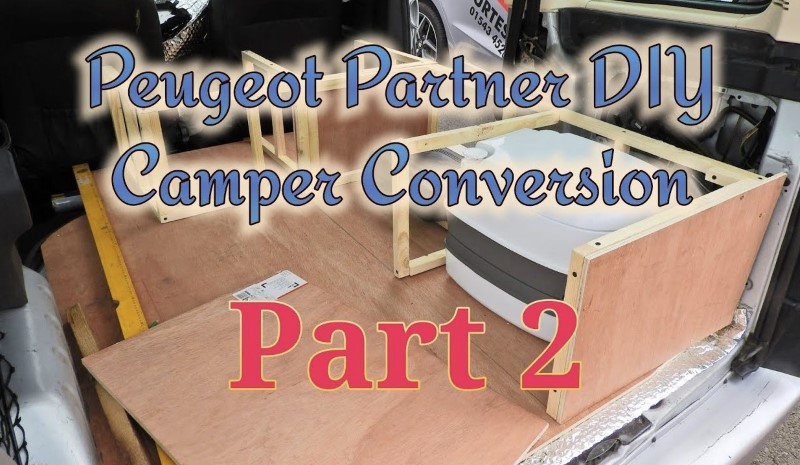
If you haven’t seen the build of the micro camper I did see HERE first to give you the background.
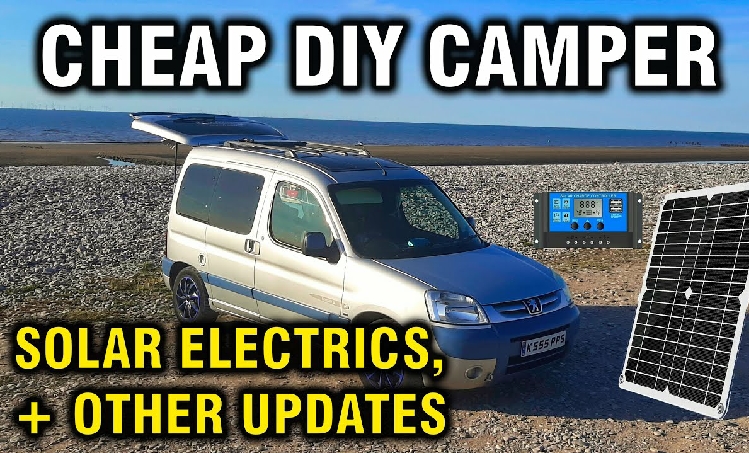
When I first converted it for power including the LED strip light for lighting inside and for charging devices I was using 10,000 mah power banks as I have just under 10, so these before going used to be charged fully than would use this connected to a USB hub for power, which was fine had no problems with it, but the more used the camper the more needed a better power solutions. And when my brother seen an offer for leisure battery from euro car parts couldn’t pass up the offer of 100ah battery for just over 40. I then brought a cheap 50w (even though was listed at over 200w)solar charger kit from ebay, so set about getting it installed.
I will explain how I fitted everything though you can watch my video on my YouTube channel above. For installing the solar panel on the roof as it is a thin flexible panel, I took two pieces of wood painted black and attached the panel to those then the panel to the roof rails. Where the connectors come out of the block on the panel I used silicone to water seal that. The wires then go between the boot and down the edge, I extended that to where the battery was to be going in one of the seating boxes.
The battery I made wooden sides and cover, so could still use the space above where the battery goes. And then mounted the solar charger on the side. I wanted a way to be able to isolate the battery and the charger unit, and as the build is done as cheap as possible I use a light switch with two switches so one controls the battery and the other the solar charger, so can turn everything off when not in use.
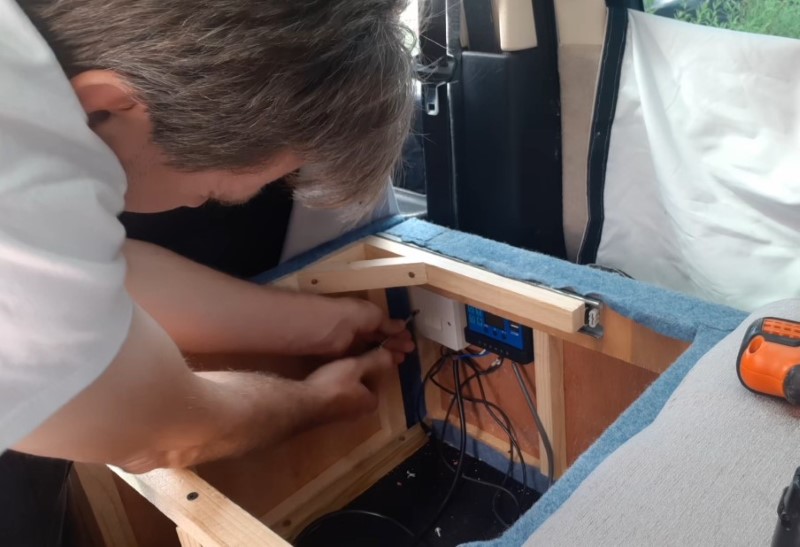
From the solar charger I connected a twin cigarette lighter socket, as I have loads of usb chargers , they have 2 on the cigarette end and a cable with then another 2 USB sockets and each can support upto 3.4ah, so I have two USB cables coming from the battery end up through the seats for charging phones etc, and then the cable with the extra sockets one toward the back and then one as you come in from side door, so enough for charging. I also use the usb port on the solar charger with an extension to go to kitchen area to that usb hub talked about, and this then gives power to both the ceiling light also a sensor controller led strip by back door.
When I have used the camper to go away, I have found if a reasonable day , whet ever power I pull from the battery from charging devices and the lights is topped up from the solar panel. Though if needed more power use will probably fit another panel of this size on the roof, as do have space with out covering the sun roofs.
So as you see a simple setup, and pretty cheap, the battery cost 42, and the solar kit was about 45, as I already had H usb chargers the whole setup was under 90 for me.
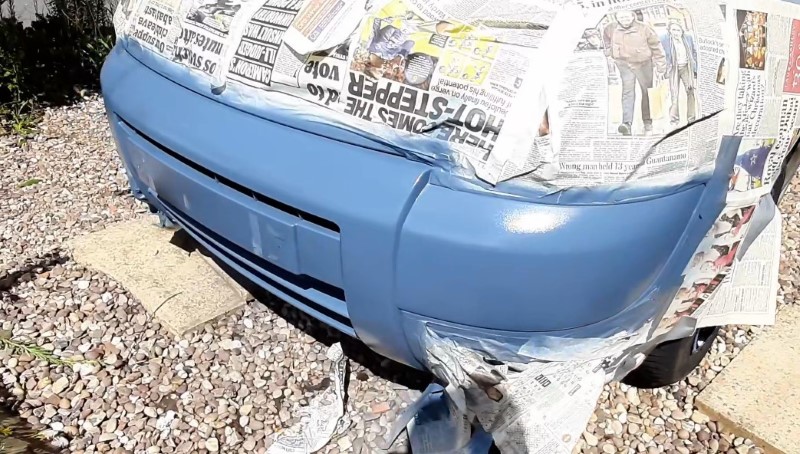
In the video a few updates including, made a arm rest as if the missus in van as well she sits at the back and has an arm rest in the boot panel as I sit in the lower part of the l shape seating I don’t have anywhere to rest , so made a simple arm rest. Also painting the bumper and side rims just to make van look a bit different than a standard car.
powerbank –
carpet – https://amzn.to/3kRPhe4
ring light – https://amzn.to/3l5vTKD
10000mah power bank () – https://amzn.to/3XYKE0D