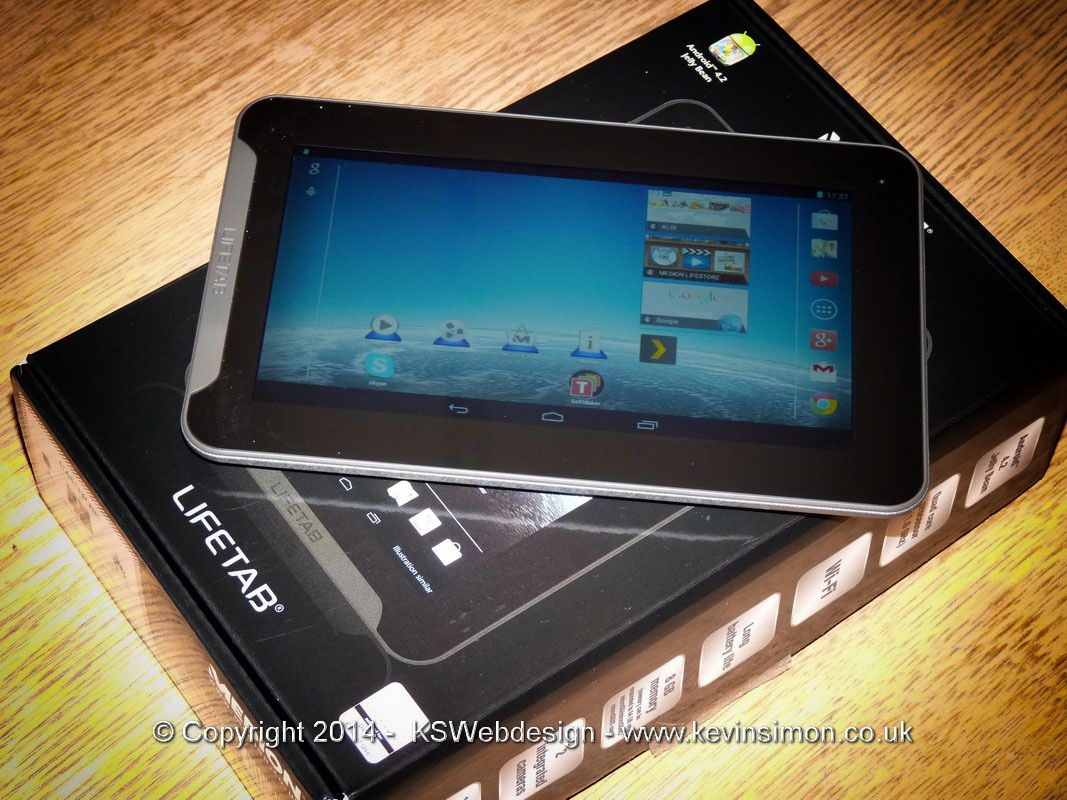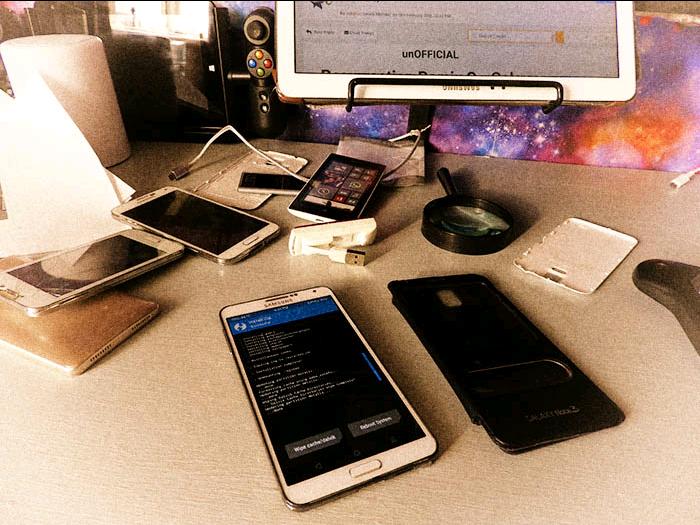
I not one for always having the latest hardware on phones or tablets, but I do like to have upto date Android OS features and aswell I’m a bit of a geek and like playing around with the tech I have. One of the main reasons for installing a custom rom especially on a Samsung devices is to get rid of all the bloatware apps that Samsung install by default. For me personally last year I got a second hand Samsung note 10.1 tablet the 2014 edition (P600). The reason for this is that this tablet does still have great specs and a high res screen that current new tablets under £300 don’t. I find for me as I’m self employed and get a lot of calls, I kept loosing notes that had wrote, so the s-pen combined with google keep enables me to keep track of my notes. At the same time I brought a Samsung Note 2 Phone (N7105). Now both of these devices support had ended so the tablet was only upto android 5.1.1 and the phone was at 4.4.2 . So decided to put custom roms on. This had been the first time doing this with Samsung devices. Over the past 12 months have changed the roms on these from Lineage OS and Resurrection Remix both are based on Android 7.1.
This is my experience on installing these and sharing the way that I install all the components needed to do this. Though I would always recommend you look online for the instructions for your exact device as sometimes within the same range of device the method can be slightly different. ie. just before writing this I brought a second hand Samsung note 3, Though this was the Chinese model SM-N9006, which i knew when purchasing it as would have no google apps like the play store etc installed. But with this one did have a few problems as couldn’t find a lineage rom for this model others worked but when in a phone call would cut off in around 30 seconds. But did eventually find a resurrection remix rom that works perfect.
So I take no responsibility if you brick or corrupt your phone by installing a custom rom or even unlocking the bootloader. I would always recommend doing a search for your device and making sure you have everything downloaded ready and have read the instructions so you know exactly what you are doing. Links supplied at bottom of page. ALWAYS MAKE SURE PHONE IS FULLY CHARGED BEFORE ATTEMPTING INSTALLING
Install TWRP Through Odin
To install TWRP this does depend on exact device, but most Samsung’s this is done through Odin and Samsung drivers installed on your pc. Though for me on both of my Note phones I had to install CF-Auto-Root before could install TWRP and I found that version 2.8.2 seemed better for me personally. You need to put your phone in recovery mode by pressing “power” & “volume down” & “home” all at the same time you should see a screen with the green android and the words Downloading – Do not turn off target!! . Connect your device through usb. Through odin which you launch as administrator, select “AP” and load the TWRP install file and click “Start” , once done your phone should reboot, This can take a while.
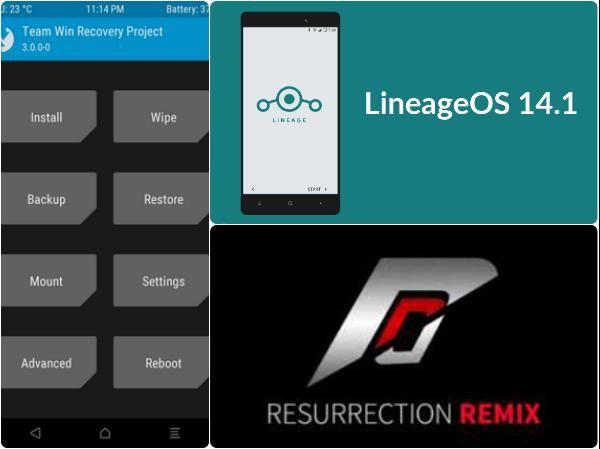
To get into TWRP power off device then hold down “power” & “volume UP” & “Home” together, you should then see the Teamwin loading screen then will be into TWRP. If TWRP dosnt come up restart and try again as you do have to press all together and sometimes you dont always press them correctly. From within TWRP is where you can install custom roms, Make backups, install gapps, root access etc.
After installing rom or anything though TWRP it is a good idea to wipe Cache/Dalvik, also if TWRP when to select power off or reboot asks you to install SuperSU, I always say no as I find magisk better than supersu, which is installed separate if your require root access.
Make Backup
Before Installing custom rom, it is ALWAYS recommended to make a NAND backup of your device, this is just incase something goes wrong at least can restore to original rom. This can be done with your apps installed or do a factory reset so a blank rom. This is done through TWRP once booted into TWWRP from the menu select “backup” On this screen it should be selected “boot”, “system”, “data” You don’t need to select any others, just below this you can select either internal or external micro SD storage (I would recommend always use a micro SD). Then just “swipe to back Up” depending on the speed of your device and SD card can take upto about ten minutes. Once done you can start installing custom roms etc.
Install Custom rom & Gapps
This is now your choice about which rom is best for you, though if you don’t like one or problems can always reflash another at any time. In the past I had used Lineage OS, but I tried Resurrection remix on my tablet and preferred this as better support for Magisk and prefer the settings options as more choice. Resurrection Remix is based off CM, which lineage is also based on. Before staring copy the rom and the suitable gapps for your device onto your SD card.
As with all custom roms any of the google frame work modules are not present, so you will need to download a google apps suite, the best is opengapps. Make sure you have the right version for your device and rom version. This enables the google apps including the play store etc. I normally get the nano version as this is enough for the main googleapps, dialler, play store, calendar etc
To install custom rom again this is done through TWRP. Myself personally before installing a new rom wipe the data etc through TWRP. Goto “wipe”, “advanced wipe” select all OTHER THAN MICRO SD, then swipe to wipe.
To install select “install”, on the next screen make sure at top id “storage: Micro SDcard”, then locate your rom file tap on it and then swipe to confirm flash. Again this can take upto a good few minutes depending on your device. DO NOT REBOOT Once this is done you need to install the gapps, again from the main TWRP screen select install and select your gapps. Always leave the files as downloaded normally in a zip file.
One this is done reboot, now this can take ages. On my Samsung tablet first time of running took over 30 mins. This is why you need your device fully charged before attempting any of this. This time is only for the first boot, after that will be normal.
Root Access
If you want root access you can either install SuperSU or Magisk, I prefer Magisk this is installed through TWRP, once installed through there you will need to install the Magisk Manager apk. This then allows you to change setting to do with root etc through the app.
Final Thoughts
If you feel confident enough it is worth installing a custom rom for various reasons. Do remember there can be a risk or bricking your device, but really the risk out weights the advantages you get. just always make sure you know what you are doing and make sure you follow instructions. But once you have done it once it really becomes second nature and can change roms at anytime. Once I have installed a rom I like I make a NAND backup after I have setup the main apps that I use, so if for any reason need to restore to factory, I can restore with apps intact, just will need to update them through the play store, as this save a bit of time downloading and setting up all your apps.
If you do make a backup through TWRP this will be located on your SD card, if you want to save space and back this up to your pc, MAKE sure that you keep the folder structure, as if not when you come to restore TWRP wont be able to see the files. Normally the folder structure is SD/TWRP/BACKUP/[serialno]/[backupname] . the TWRP and Backup folder need to be in capitals, the ones I have done the serial number is of the device, though sometimes can be different numbers and letters. If you cant remember the folder structure you can find this in the recovery.log file within the backup directory.
After I install a custom rom there are a few settings that I like to change to suit me, for tips on this see my other article.
Links
Odin – https://odindownload.com/
Google Apps – Opengapps.org
CF-Auto-root – https://desktop.firmware.mobi/
TWRP – https://twrp.me/
resurrection remix for the SM-N9006 (chinese version) – https://forum.xda-developers.com/galaxy-note-3/development/rom-resurrection-remix-n-v5-8-3-vanilla-t3615227
resurrection remix ALL – https://sourceforge.net/projects/resurrectionremix/files/
Linage OS All Downloads – https://download.lineageos.org/
magisk – https://forum.xda-developers.com/apps/magisk