As I redesigned this site for a fresh look for 2015 I need to add a few slider images to cover what kind of articles and content are on this website for the new look home page. I needed some images, but really didn’t have anything to hand and had a few ideas for each section, so here is just a quick rundown of how the three main slider images were created and edited.
1. Reviews image, Computer Keyboard
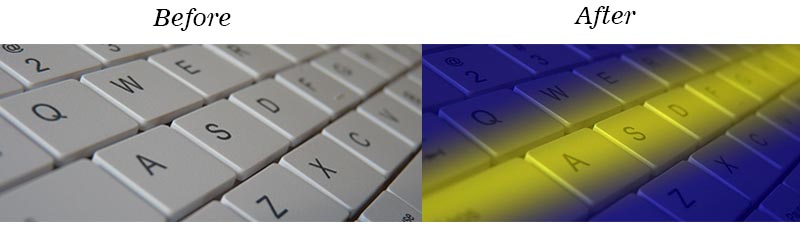
This photo was took of one the portable keyboards I have got for my tablet, this worked well as was a white keyboard with the letters in black, so the perfect image to add colour effects to, as if it was a normal black keyboard I don’t think would have worked aswell.
Now the image looked ok as was taken at an angle in macro mode, but was a bit too plain, so to get the colour effect, was simple using Photoshop layer effects, always remember when editing an image within Photoshop it is good practice to duplicate the image layer you are working on so if you make mistakes can always go back to your original.
The effect for this was just using the gradient layer effect with three stages blue at either end then yellow in the middle, then adjusting the angle to match the angle of the keys on the keyboard. To blend in with the original image the opacity was took down a bit. Then all that needed to be done is adjusting the curves to get the colour and deepness of the colours to show through.
2. Photography Image, Holding Camera
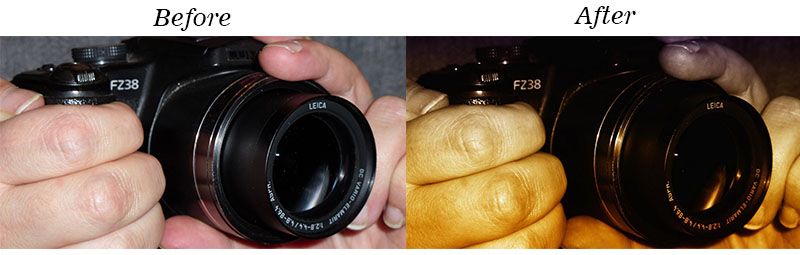
This was a pretty easy image to take, I got the missus to hold my main camera then with another camera using macro mode took a photo of her holding the camera in her hands. It did take a few shots to get her to hold it right so looked good when I took the photo.
This one was edited using ACDsee 8 image editor and viewer, as really only needed to add a sepia colour effect to the image. This was done with using the special effects within the edit section of acdsee, then adjusting the levels and curves to get it just how I wanted it within the develop section.
3. General Blog, Lego Minfigs
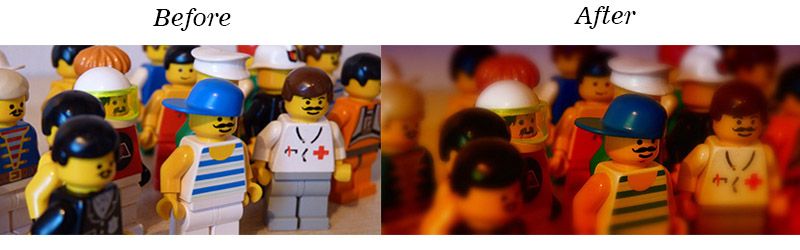
This photo was took using around 20 Lego mini figures, though from the photo doesn’t look that many. I choose Lego minifigs for this photo for two reasons , 1, I love Lego and 2 because at the moment I am selling at lot of Lego my late father had to sell, I have drawers and drawers of different minifig bodies, legs, heads and head wear, so it made perfect sense to used them.
I lined up a few rows of the Lego minifigs, set the camera to macro close up mode and took a good few shots a different angles and focusing on different figures. Once back at the computer had a look at them and choose one photo I liked as was just the right angle and focused on one of the more unusual figures I had made up.
The effect on was just a slight colour gradient overlay, then a soft blur around the edges, and again just adjusting the levels to get the colour to op out abit more.
⇦ Back to my Photo Blog Main Page
Follow For Updates
If you found this article interesting or useful, why not follow us for updates though the following: Twitter, Facebook, Google+, Tumblr or email. For updates of photos I upload see Flickr, Or share this page using the services below: