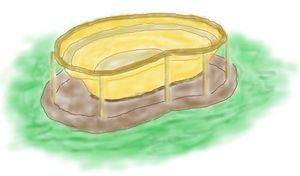
These steps are the basic installation of a ready made pool.
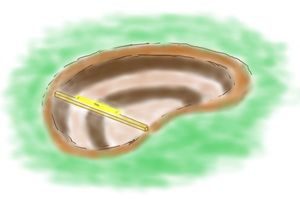
Simply dig the hole to the depth required (20″) and make the hole 3″ to 4″ wider and longer than the pool. Remove all stones and make the bottom of the hole as flat, firm and level as possible.
Add a 1″ layer of sand to support the pool and to allow you maneuverability for final adjustments to level.

Then slot in your pool and check levels width and lengthwise with a long straight edge and spirit level. Extra time checking levels is time well spent. It is unsightly and unnatural to see the material of the pool showing above the surface of the water.
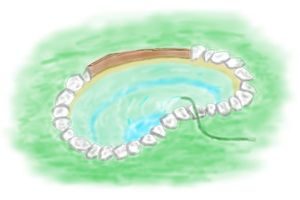
Start to backfill round the sides with soil or sand making sure the soil is well packed in under the shelves. It is best to do this as the pool is very slowly filling with water. If the pool is going to shift its level it will do so at this stage. Levels must again be checked. If there is any shift of level the pool must be completely emptied and resettled. The backfilling can be extra vigorously firmed in with water in the pool.

Alternatively you could build a wall round it to give yourself a raised pool, creating a garden seat at the same time. It also makes it difficult for leaves to blow in. Finally the pool edging. Don’t forget when cementing in edging stones to allow a passage for the pump cable. Crazy paving or rock edge make the best effect.


To see more tip and articles from KS Pond Services see below or for what services KS Pond Services can supply see our section on this site HERE
[display-posts category=”pond-tips”]
