

If you’ve been following my journey, you’ll know that a few years ago I successfully converted a Peugeot Partner into a micro camper. It was a fantastic project, but it was time for an upgrade after my little micro camper developed a mechanical fault. For more info see HERE. So now enter my new project camper build the Vauxhall Vivaro.
This new project is a bit more ambitious—it’s the crew cab version with extra seats in the back and a bulkhead, which gives me more room to work with, but also more to clear out before the real fun begins. In this post or you can watch the video below, I’m sharing the first big step: removing the existing framework and racking to get a clean slate.

The Reality of Buying a Used Work Van
Let’s be honest: buying a used van can be a gamble. In my case, I feel like I was a “scammed”. There were gearbox problems and other issues that I’ll dive into in the future.
The van had clearly been used by builders. It was incredibly dirty, filled with dust, and even contained a stray bag of cement under the racking! However, since the plan is to rip everything out—flooring, sides, and all—the dirt didn’t bother me as much as the mechanical hurdles. Everything is being replaced with fresh insulation and new flooring.
The Struggle: Removing the Framework
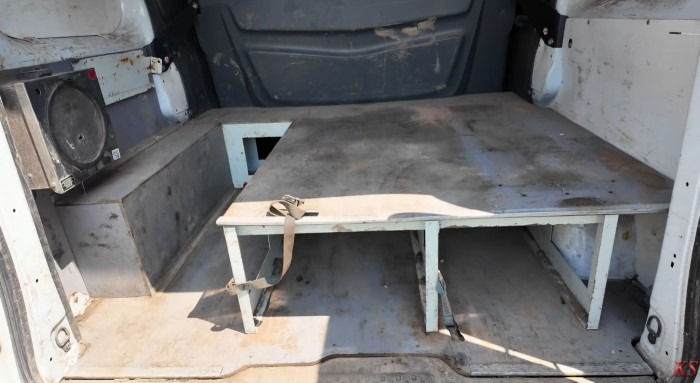
The back of the van came with some heavy-duty wooden racking and a metal framework that was bolted and riveted in place.
The Hurdles:
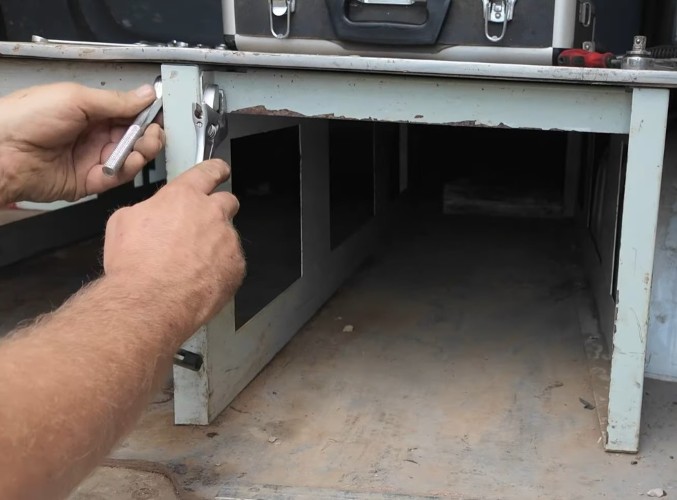
- Bolts and Spinning: The main frame was bolted to the floor. Without the exact right spanner size to hold the other side of the bolt, they just kept spinning.

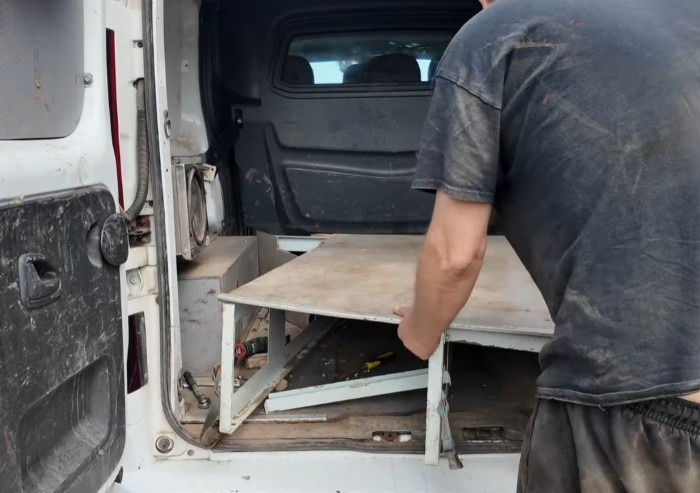
- The “Stuck” Corner: Even after removing the bolts, one corner was wedged tight against the bulkhead. I tried a hammer and chisel, then a multi-tool to cut the wood away. Eventually, it took a good whack with a mallet to finally break it free.
- Rivets: On the passenger side, there was a box built over the wheel arch. The most efficient way to handle this was simply drilling out the rivets.
- Removing: As I couldn’t get all the framework apart I had to remove it in one piece which was so heavy and awkward.

Managing a Build with a Disability
I always want to be transparent about my process: I have a spinal problem that makes physical work very difficult. Doing this demolition “took it out of me,” and I often have do a few hours of work with then a few days of recovery. But I am determined to see this through!
I am doing the build in stages as I still want to keep the rear seats in while im starting to do the camper conversion, as I need the extra seats in the back until I have a suitable rock and roll bed / seat with seat belts. Once I have this the bulkhead and seat will be removed, I have now added the video on how to remove the seats and bulkhead see HERE
The Deep Clean
Once the wood was out, the true state of the van was revealed. I spent hours sweeping, vacuuming, and scrubbing.

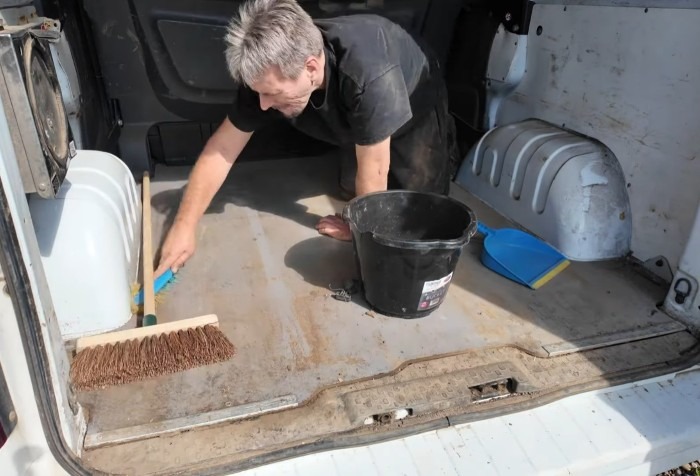
- The Vacuum: A dustpan and brush weren’t enough for the fine builder’s dust, so I had to bring in the vacuum with a brush attachment to get into every corner.
- Mystery Wiring: While removing what looked like a paper towel holder, I discovered this was water heater and power cables. I’ve safely capped those off to investigate the voltage later.
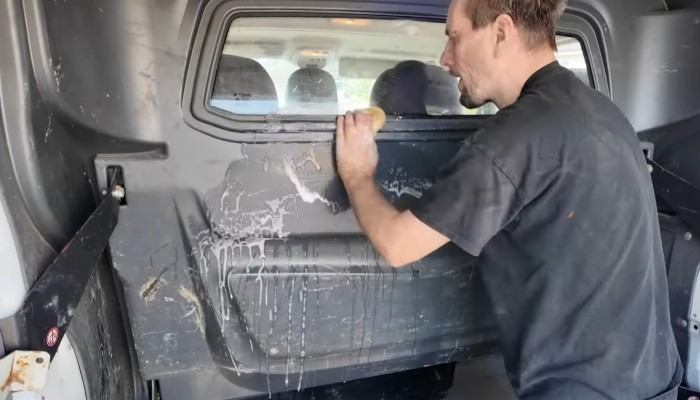
- The Bulkhead: I gave the bulkhead a good scrub with soapy water, though it’s actually coming out in the next video!

What’s Next?
Now that the back is clear and semi-clean, I can finally start looking at the layout. I’ve already got plans for move-able bedding, a boot area for gear, and integrated kitchen units. You can read about the ideas I have HERE.
Then it is going to rip up the wooden flooring that is down , so that it can put new flooring with insulation underneath. But really to get all this out I am going to have to take out the bulkhead and rear seats.
Thank you for joining me on this new adventure. If you want to see the progress—from the bulkhead removal to the final insulation—make sure to subscribe to my YouTube channel and stay tuned for Part 2!
