As we was having a relaxing Saturday afternoon and I started to get bored I thought I would have a go at doing some smoke trails photography. I used a very basic setup on the kitchen table, this comprised of a frame to hold the backdrop, for this frame I use PVC pipe and fittings mainly 22mm waste pipe as this is cheap and works well, I have loads of this so can set up a frame for whatever size I need. I then attached a black fabric backdrop, though after messing about doing the photos I would have probably been better with matt black card or paper as did get slight light bounce back off the flash.
To produce the smoke this first thing I tried was using candles though they didn’t produce enough constant smoke, so went out and brought some cheap incense sticks as these produce constant smoke. I found that placing the incense sticks about two feet away from the backdrop and then placed one light from a constant lighting system i have with a reflector umbrella on to the one side of the incense stick. Though couldn’t get the results I wanted so mainly used the popup flash on my camera which is a Panasonic FZ38 superzoom bridge camera. This worked well but would have been better if I could have used a external flash unit directed direct at the smoke from the side though can’t use one with my camera.
I took some using a tripod, but most using the camera handheld as was using a fast shutter speed to capture the motion so really didn’t need the tripod. Though i did use manual focus to focus on the tip of the incense stick as did have bit of trouble focusing on the smoke plume. To make the smoke just more than a straight plume, I either blew the smoke gently or did use a teaspoon over the plume to disperse the smoke to make some nice patterns.
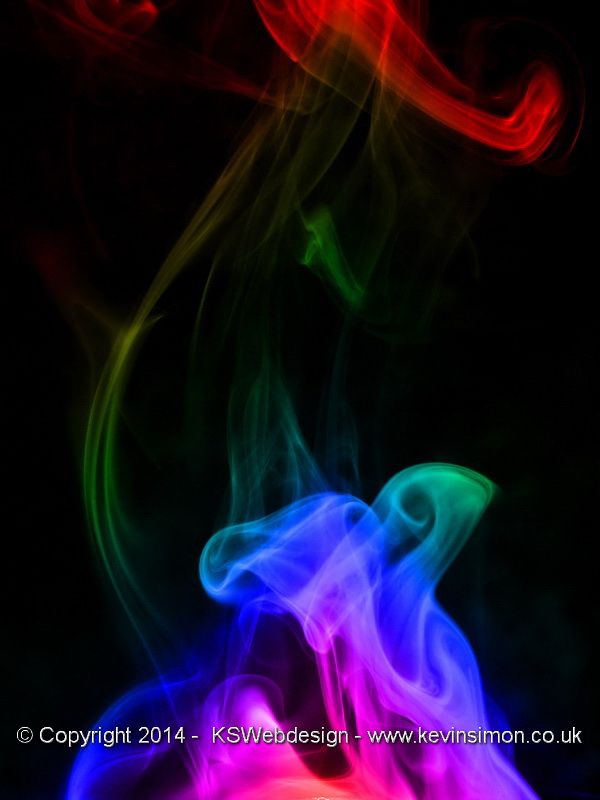
I took loads of photos below are some of the best, though because this was the firs time of doing this did need to adjust in post processing, using Photoshop just adjusted the levels get the black fully black. At this point could either invert it so the black became white, or leave it black. Then just adjusted the colour balance to make the grey smoke more colourful. The multi coloured ones was using a soft overlay layer with gradient fill.
I think for my first attempt i have got reasonable results, though I have learnt a few things so the next time I think will get better results. If going to try this yourself make sure to keep having a break every 20mins or so and open windows and doors to let the excess smoke out, hope you find this quick how to guide useful. I did have fun doing these photos and only takes a few minutes to setup, I haven’t really done any tabletop photography for awhile so think I will be doing some more little projects like this in the near future when I have a free afternoon. So why not follow this site for updates.
[flickr_set id=”72157640155604853″]
Follow For Updates
If you found this article interesting or useful, why not follow us for updates though the following: Twitter, Facebook, Google+, Tumblr or email. For updates of photos I upload see Flickr, Or share this page using the services below: